From this thread:
viewtopic.php?f=94&t=37296" onclick="window.open(this.href);return false;
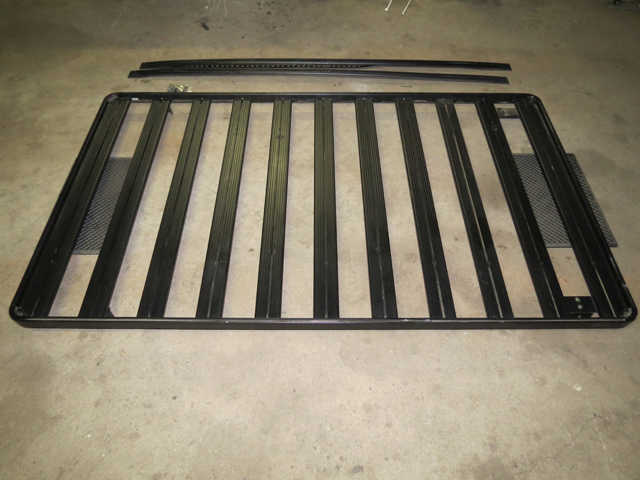
After selling my Pajero, I was stuck with a large Frontrunner Roofrack (2150mm x 1225mm).
I tried to sell it in order to buy a new one for the Hilux, but after not getting it sold, decided to keep it and modify it!
It all started here:
- 0.JPG (251.23 KiB) Viewed 8303 times
It was easy to shorten as I only had to cut the two long side rails. Very nice idea of Frontrunner to make it modular - All the other slats and spares that are left could easily be used to construct another with only minor part purchases. On the Pajero it had 6 legs, two longer ones in the front and back and then two shorter ones in the middle. I only used the longer ones.
I finished the roofrack and decided I needed to fit it this weekend in preparation for our upcoming Namibia trip in December. I got on the phone with my buddy Monsterlux and quickly bribed him with a few cold ones for his assistance.
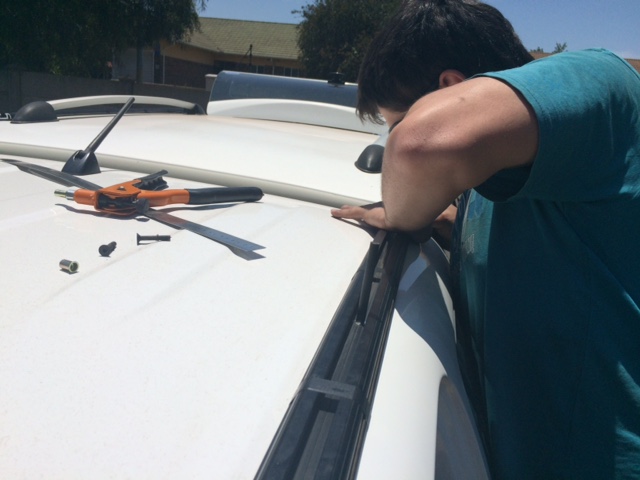
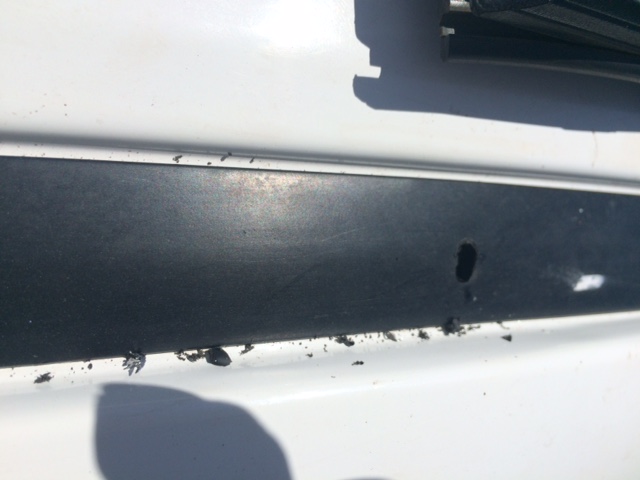
First we had to remove the rubber strips in the channel and properly clean it.
- 1.JPG
- (106.58 KiB) Downloaded 537 times
After a lot of measuring and positioning, we decided to cut the tracks the same length as the roofrack and to position the rails 170mm from the windscreen.
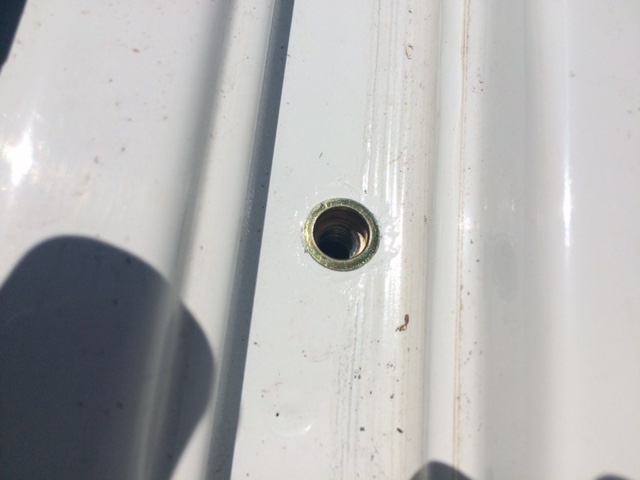
It was then time to drill the first holes!
I received some touch-up paint with the Hilux, so we put it to good use.

- 2.JPG (57.25 KiB) Viewed 8303 times
We decided to use Riv nuts, because this roofrack will only be used for my solar panel and it was a major job to strip the cab and to remove the rooflining. From experience there will also always be new rattles when doing that! We decided on 3 riv nuts per side.
- 3.JPG (61.18 KiB) Viewed 8303 times
Then we added some silicone to the holes - For sealing and also to make it harder to rattle loose.
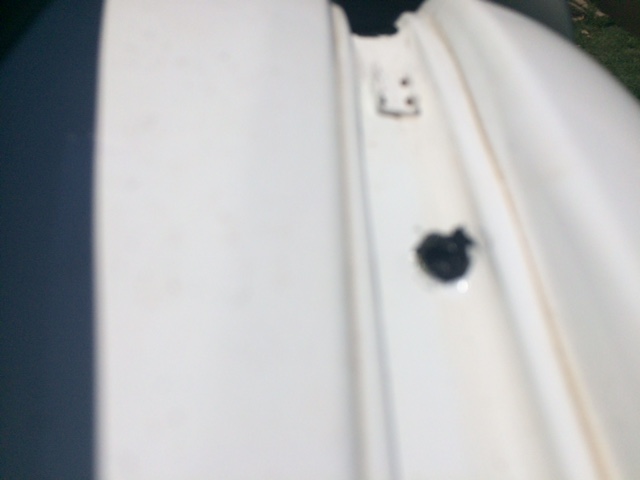
- 5.JPG (47.33 KiB) Viewed 8303 times
We then worked towards the back following the same process for the other 2 holes.
- 4.JPG (78.67 KiB) Viewed 8303 times
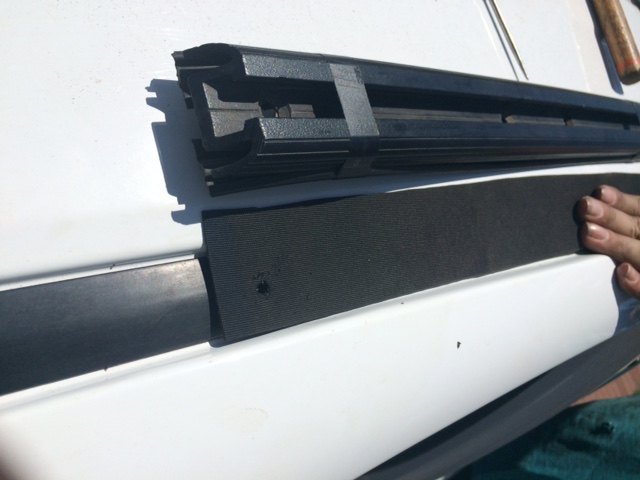
We replaced the factory rubber strip and drilled holes into it to match up with the riv nuts.
- 6.JPG (67.5 KiB) Viewed 8303 times
A fellow clubmember, Rod, gave me advice to use insertion rubber under the tracks. Because the inner side of the roof is lower than the outside.
That was cut to size and the corresponding holes made
- 7.JPG (75.98 KiB) Viewed 8303 times