
I thought some of you might find this useful.
I have a 2009 4.0 V6 Hilux, who’s instrument gauge / cluster is scratched quite badly by car wash attendants who use a dirty rag and the previous drivers rings.
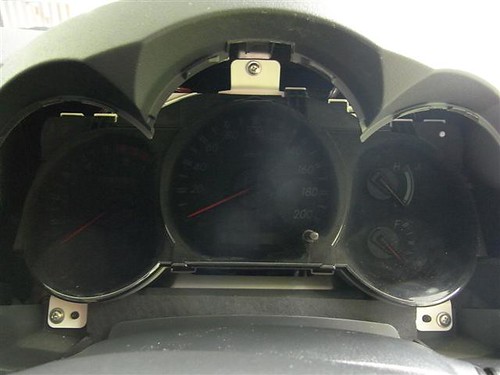
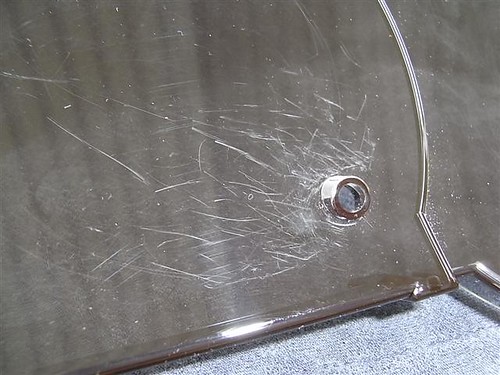
Here is a pic of the scratches at the base of the speedometer, by the reset stalk

SCRATCHES (1) (Small) by PD987789, on Flickr
And one of near the fuel and temp gauges.

SCRATCHES (3) (Small) by PD987789, on Flickr
I wanted to try and minimize / polish out the scratches but in order to do a descent job thereof, I decided to remove the instrument cluster. The process is as follows.
Firstly, you need to remove the instrument outer binnacle. This is quite easy once you figure out that the thing you think is a screw is not a screw but a grommet of sorts that looks like this.
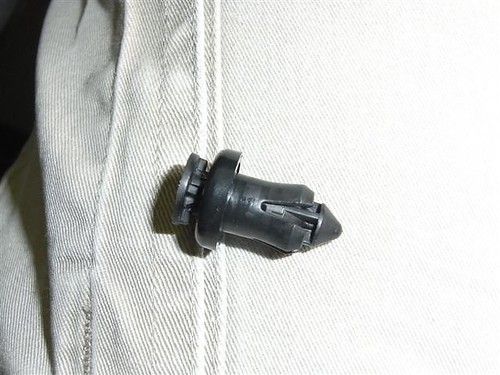
DASH SCREW (Small) by PD987789, on Flickr
This grommet is at the 12 o’clock position on the underside of the binnacle as seen below when I thought I could unscrew it. I eventually used a small screwdriver to lever the grommet out. It popped out quite easily.
DONT BE FOOLED (Small) by PD987789, on Flickr
Once the grommet has been removed, gently pull the outer binnacle toward you. It is just clipped in place. To make it easier, I used small plastic tyre levers from my mountain bike to carefully leaver the outer away, without leaving marks.
Outer binnacle removed.
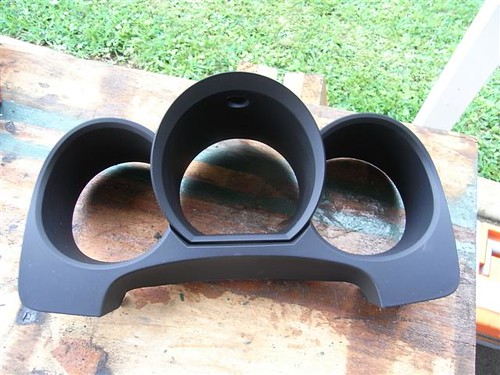
OUTER (Small) by PD987789, on Flickr
Once that has been accomplished, the instrument cluster is held in place by 3 screws.
INSTRUMENTS (Small) by PD987789, on Flickr
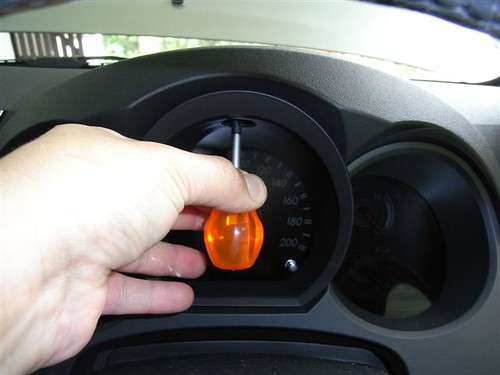
Undo there screws and then gently rotate downwards the instrument cluster. This will allow you to access the multiplugs, of which there is a large one and a small one and a small ball and socket type connector holding the harness.
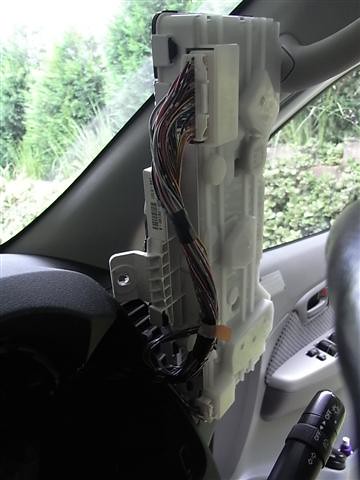
MULTIPLUGS (Small) by PD987789, on Flickr
With the miltiplugs and connector removed, the instrument cluster can be removed from the vehicle.
Now I suppose I could have stopped disassembling at this point, but since there was a bit of dust on the face of the instrument cluster, I decided to strip it down further. The various bits of the cluster are only held together with clips that I gently separated using my fingers.
Top clips
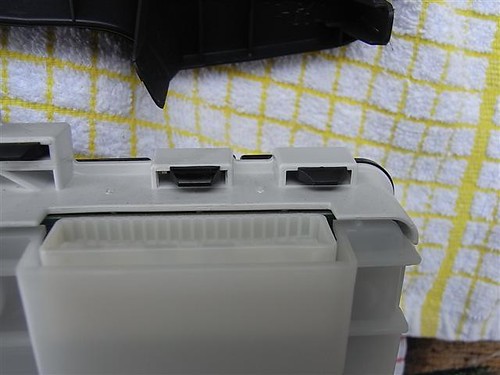
INSTRUMENT CLIPS (Small) by PD987789, on Flickr
Bottom Clips

INSTRUMENT CLIPS (1) (Small) by PD987789, on Flickr
Once everything was undone, it looked like this
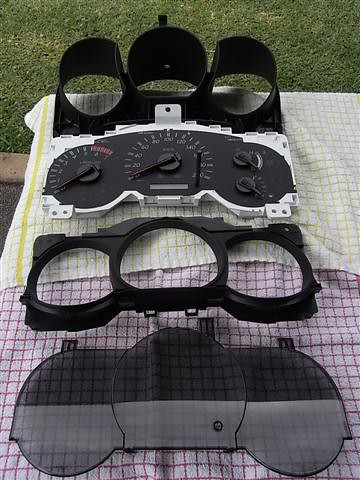
ALL APART (Small) by PD987789, on Flickr
A close up shows the extent of the scratches
SCRATCHES BEFORE (Small) by PD987789, on Flickr

SCRATCHES BEFORE 2 (Small) by PD987789, on Flickr
I used plastix by Meguiar’s to try and minimize and polish out the scratches, It is a plastic polish.
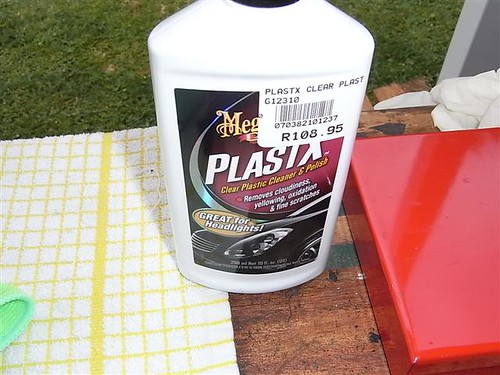
PLASTIX (Small) by PD987789, on Flickr
After testing that the polish won’t do something untoward to the plastic by applying a small amount on a corner, I followed the instructions and polished the surface of the cluster.
The product worked pretty well, and removed 90 % of the scratches.
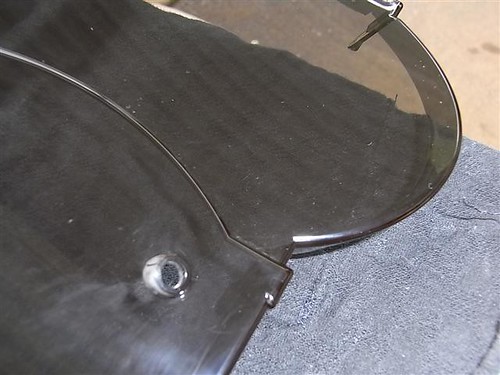
SCRATCHES AFTER (Small) by PD987789, on Flickr
Compared to the first pic, there is a huge improvement. The pic below still has some polish residue on it.
Afterwards, I washed the cover with warm soapy water to remove any further residue. Once I had dried it, reassembly was the reverse of the above.
Result, far fewer visible scratches.
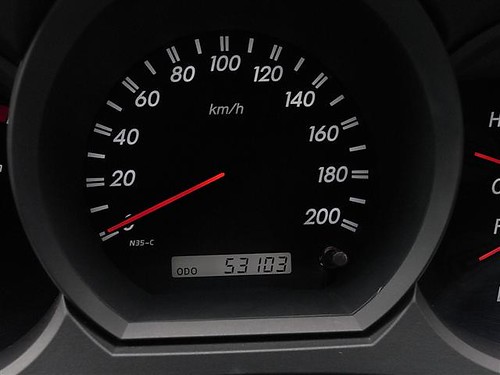
AFTER IN DASH (Small) by PD987789, on Flickr
I hope you find this of benefit.