|
|

|
|
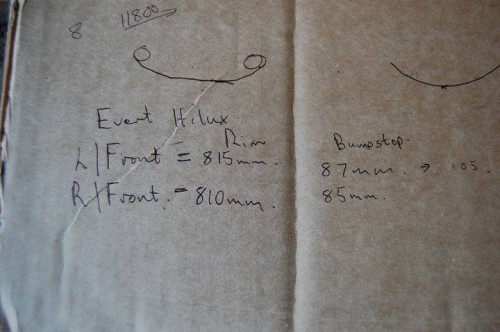
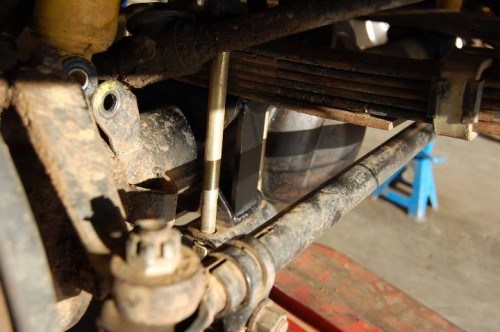
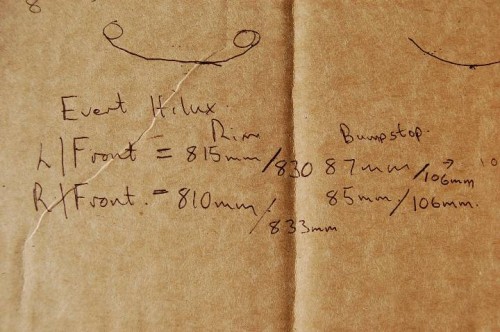
How to Strengthen you front Saddles on a SFA Toyota HiluxThis article was writen by Louis from 4x4 Megaworld in Menlyn When Evert stopped in the workshop the first thing that we recorded was the height from the underside of the Rim to the wheel arch, this is done that the tape measure also half the middle of the wheel. The 1st measurement Left/Right were 815mm/810mm in Pic 1. The Other measurement is the distance between the bumpstop and chassis. Left/Right were 87mm/85mm.
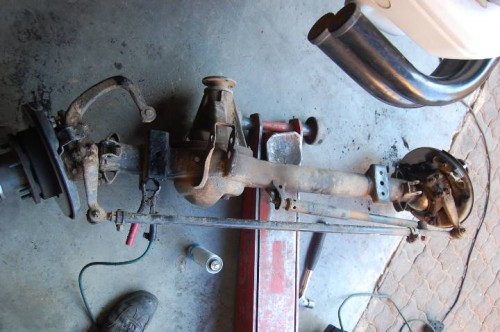
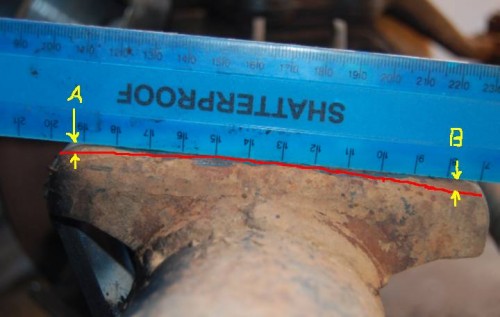
With all the bolts removed, the calipers off. Remove the axle to a spot where you can work freely. Take the ruler and place it over the lenght of one saddle. Check for high points, mark them. typically the idea will look like as in Pic 7, the middle will be higher as the marked(a&b) ends. Mark it with Tipex on the high points. Start hammerig on the high points, checking with the ruler to id more high points. As you finish the saddle will be as in Pic 9. Recheck the saddle with the ruler, it will be right if it look like in Pic 9. Sometimes the middle will be lower than the ends, it is ok, but try to get both saddles like that.
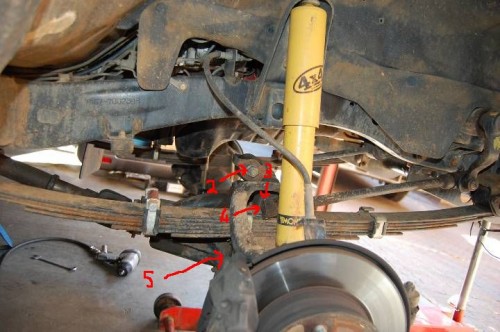
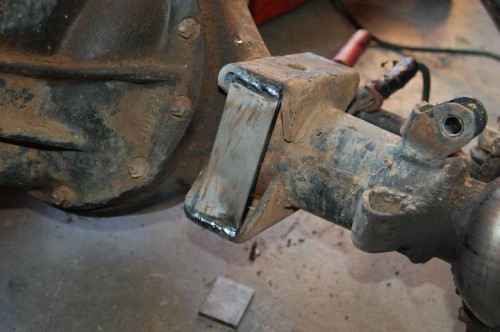
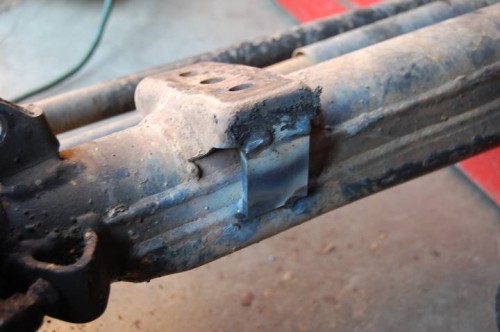
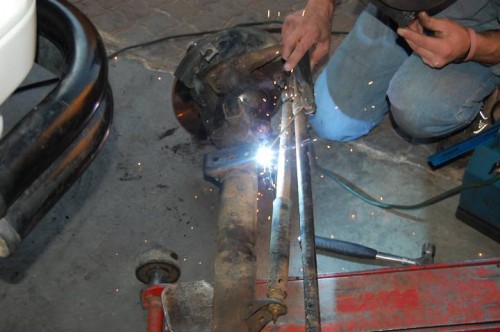
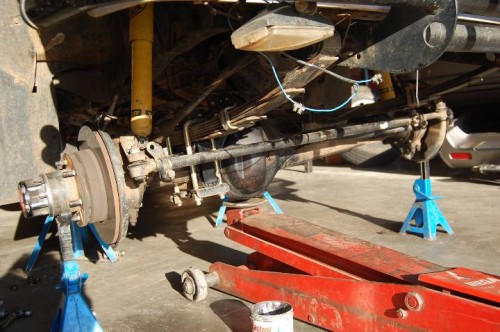
Place the saddle correction plates, front and back of right hand side(driver side) like in Pic 10, weld them into place. Then do the left hand side(passenger side) like in Pic 11 and weld into place (Pic 12). If this is done let the welding cool and take black spraypaint and spay the exposed metal saddles and correction plates. Now move the axle back again under the front and jack it up into place(Pic 13 and 14) and let it rest on extra tressils. Reconnect the the Control Arm to chassis and the Steering Arm. Then refasten the shocks. Refit the Calipers and bleed the braking system.
Put back the wheels, the leafsprings should look as Pic 15 shows, an improvement in the arch.
Push the Lux forward and then backward on take it for a spin around the block to let the front suspension settle, park it again on a level surface. Measure again from bottom of the rim to wheel arch, and between the bumpstops. You will see in Everts case it is now Left/Right 830mm/833mm and between the bumpstops Left/Right 106mm/106mm. About 20mm gain. Now, why do so much work to gain 20mm ave. The main reason will be your blades will last longer! Won't sag more than it should. Plus you gained a bit more height. Thanks Evert for your Hilux to make this work! Louis
|